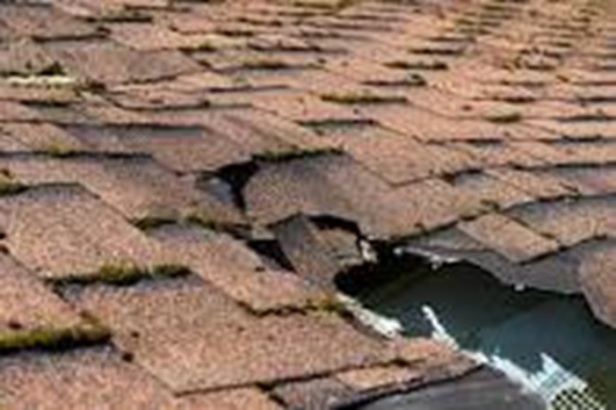
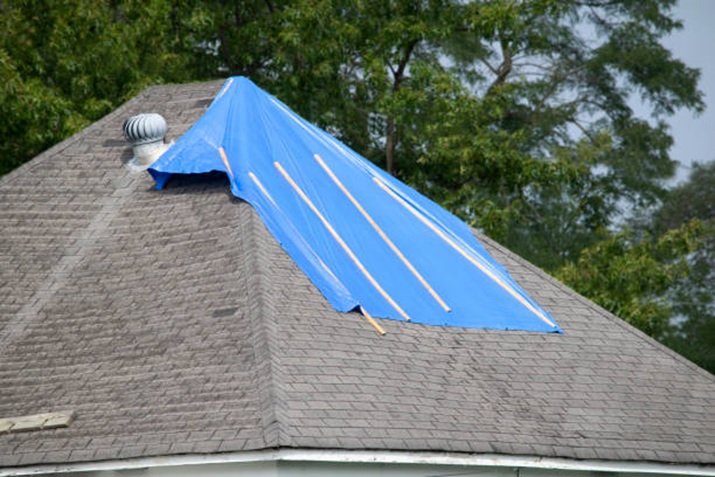
If you’re a homeowner, there’s nothing worse than dealing with a damaged roof. A leaky roof can quickly turn into a nightmare, causing water damage to your home’s interior and potentially costing you thousands of dollars in repairs. To make matters worse, it can happen at any time, and it’s often unexpected. Whether it’s from a severe storm, fallen tree branches, or other unforeseen circumstances, the resulting damage can be costly and dangerous if left untreated. Luckily, there are simple steps you can take to prevent further damage while you wait for a professional to arrive. This article will show you the four simple steps you can take to use a roof tarp on a damaged roof and protect your home from further water damage.
Examine Your Roof’s Damage

Assessing roof damage is an important step that should be taken before tarping a damaged roof. Through this process, you’ll determine the extent of the damage and know the approach to take when tarping the roof. If the damage is extensive, additional measures such as shoring up the damaged area may be necessary. The extent of damage will also help you identify the right materials to use for tarping.
Examining your roof’s damage can also help you to identify potential hazards. For example, if the roof has been damaged by a fallen tree, there may be broken branches or debris that can be hazardous. Additionally, assessment will help you plan for the long-term. While the use of roof tarps are intended as a temporary solution, it can keep your roof intact as you plan for a long-term solution when resources are scarce. Apart from that, it will enable you to identify any underlying issues that may need to be addressed to prevent further damage to the roof.
Check the Weather Forecast
The weather can have a significant impact on the effectiveness of the tarping and the safety of those carrying out the repairs. It may be dangerous to tarp your roof when there’s lightning, a storm or strong winds. High winds can make it difficult to secure the tarp, while heavy rain can make the roof slippery and increase the risk of falls. It’s important to ensure that the weather conditions are suitable for the repair to be carried out safely.
The effectiveness of the tarp can also be compromised if the weather conditions are not favorable. Strong winds can blow away the tarp leaving your roof exposed to further damage. Similarly, heavy rain can cause the tarp to sag, creating pools of water that can damage the roof further.
Checking the weather forecast will help you plan the repair more effectively. If rain is forecasted, it may be more beneficial to delay the repair until the weather improves. Also, if there is a possibility of thunderstorms or lightning, you should be careful not be struck while carrying out the repair. By checking the weather forecast and planning accordingly, you will save yourself time and money in the long run.
Ensure the Roof is Safe
You should check your roof’s safety before tarping. Carrying out repairs on a damaged roof can be hazardous and may lead to an accident. One way to check your roof’s safety is to look at its stability. Walking on an unstable roof that isn’t structurally sound can cause you to fall and suffer from life-threatening injuries. The roof should be able to support your weight as you carry out the tarping.
You should also ensure that the roof is free of debris and hazards. A damaged roof is likely to have debris, broken glass, or other hazards that can cause injuries if not removed before repairs are carried out. Also, if your roof isn’t safe to work on, tarping it can cause you to damage your home’s structure. This is likely to happen if you’re using heavy equipment such as ladders and power tools. The damage caused can lead to expensive repairs and even compromise the structural integrity of the entire house.
Moreover, a safe roof can save you from legal liabilities. If a worker is injured while carrying out repairs on an unsafe roof, you may be held liable for their injuries. If this happens, you will pay costly legal fees that could be avoided if you took the necessary precautions to keep the roof safe.
Measure the Damaged Area
Measuring the damaged area before tarping is an important step that you shouldn’t overlook. The size and shape of the damaged area will determine the amount of tarp needed to cover it. Failing to take measurements accurately will result in inadequate coverage or wastage of resources. Once you have your measurements together, it is wide to add additional inches at the margins of your Roofing Tarp in the event you have miscalculated.
The Bottom Line
Tarping a damaged roof can be a simple and effective way to prevent further damage and protect your home from the elements. However, it’s important to take the necessary steps to ensure that the repair is carried out safely and effectively. These four simple steps will help you save time, money, and effort while protecting your home from further damage. Always remember to prioritize safety when carrying out repairs on your roof. If you’re not comfortable doing it yourself, consider seeking professional help.

